If you’re trying to figure out how to crop a shape in Figma, you might be looking for a traditional “crop” tool that doesn’t exist. It’s a common point of confusion for new users, but Figma’s method is actually more powerful and flexible—once you know the secret is using masks.
This guide will walk you through everything you need to know, from basic image cropping to advanced masking techniques for complex shapes and components.
Key Takeaways: Cropping in Figma
-
For single images: The fastest method is using the Image Fill property within a shape.
-
For shapes, groups, or text: The best method is to Use as Mask.
-
Figma’s cropping is non-destructive: Unlike Photoshop, you never lose the original parts of your object; they are simply hidden.
Method 1: Cropping an Image with the Fill Tool (The Easiest Way)
This is the most common and straightforward method when you’re working with a single image you want to place inside a specific frame.
-
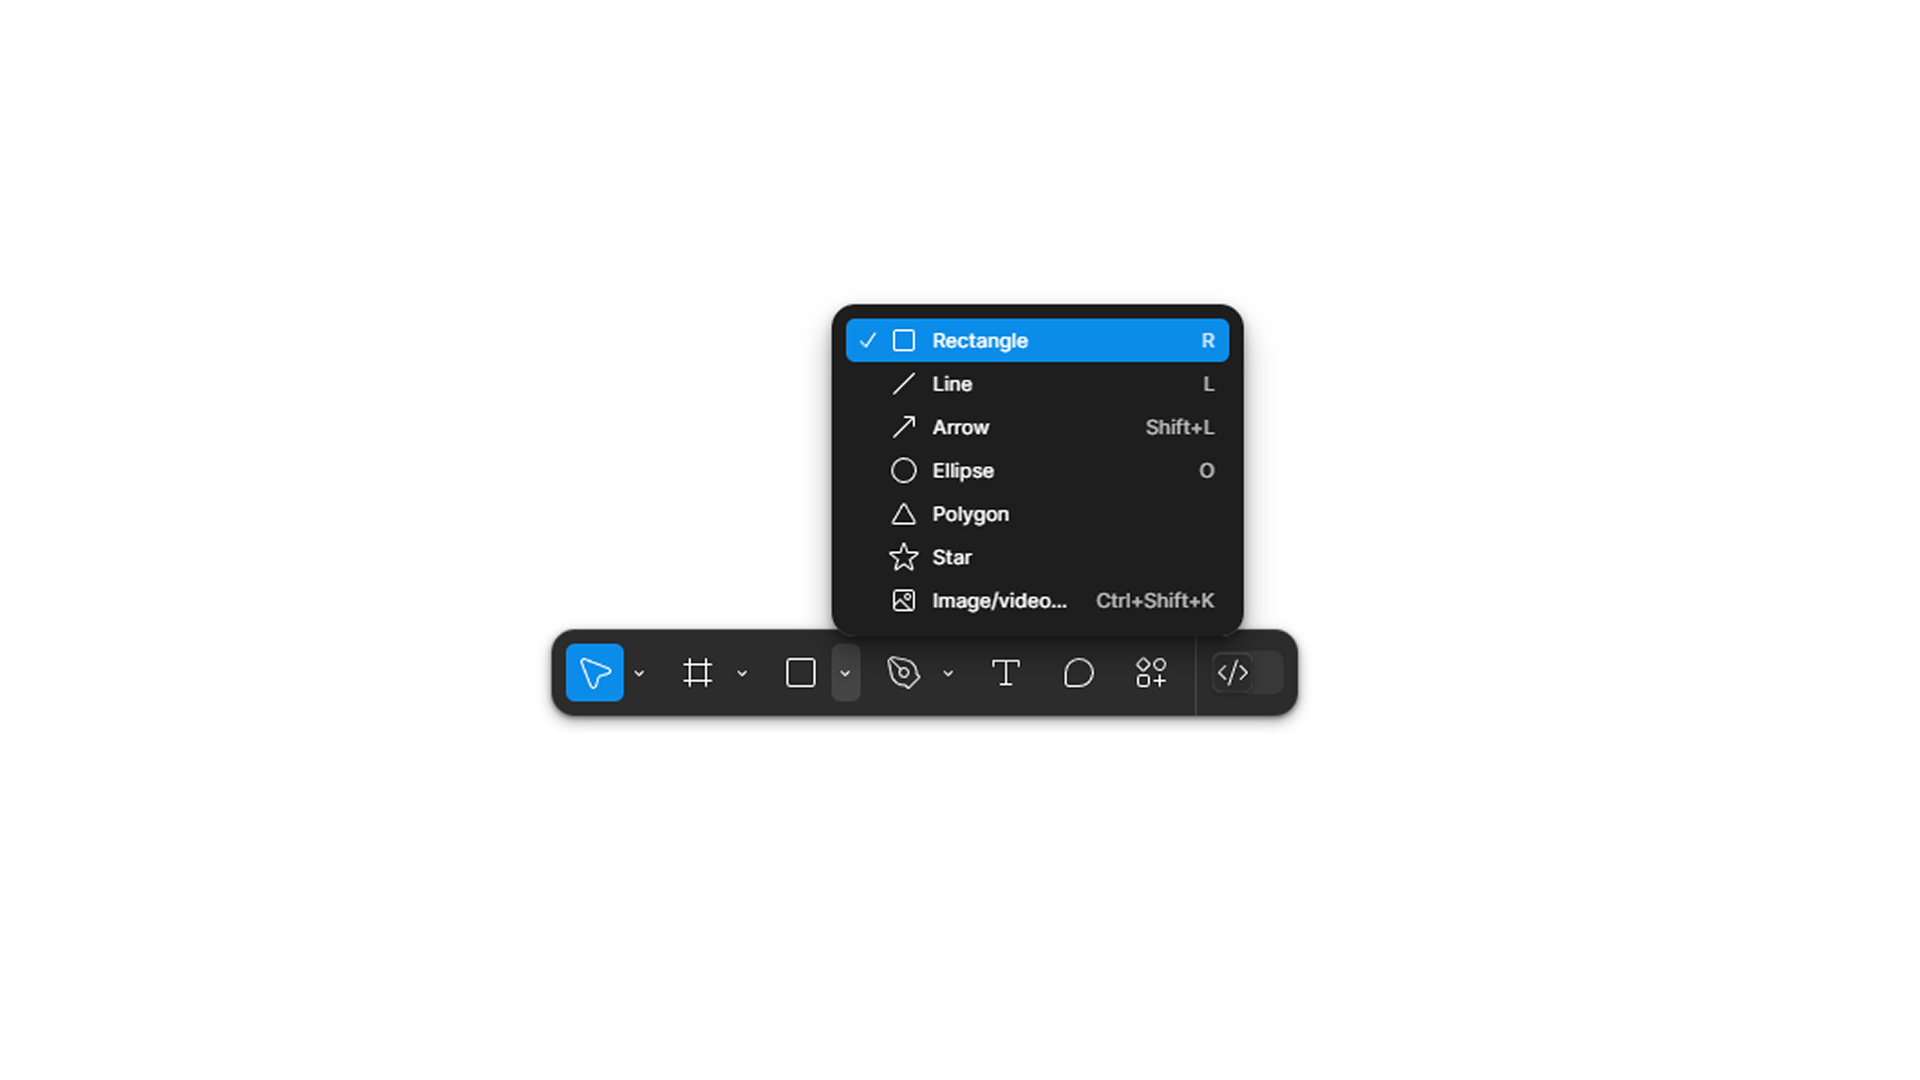
Draw Your Frame: First, create the shape you want your final image to be (e.g., a rectangle, circle, or star).
-
Open the Fill Panel: With your shape selected, go to the Fill section in the right-hand design panel.
-
Change Fill to “Image”: Click the color box. In the top-left of the window that appears, change the dropdown from “Solid” to “Image”.
-
Choose Your Image: Upload the image you want to crop. It will now appear inside your shape.
-
Adjust the Crop: In the Image Fill settings, click the dropdown that says “Fill” and change it to “Crop”. You can now drag the image around inside the shape to position your crop perfectly. You can also hold Shift while dragging a corner to resize the image proportionally.
Method 2: Cropping Shapes and Groups with a Mask (The Universal Method)
This is the direct answer for how to crop a shape in Figma, and it’s far more powerful. This method lets you crop anything—a single vector shape, a group of objects, text, or even complex components.
-
Create Your Crop Area: Draw a new shape (usually a rectangle) over the object or group you want to crop. This top layer will become your mask or “window.”
-
Order Your Layers: In the Layers panel on the left, make sure the shape you want to use as the crop area is directly above the object(s) you want to crop.
-
Select Both Layers: In the Layers panel, hold Shift and click to select both the crop area shape and the object(s) below it.
-
Click “Use as Mask”: With the layers selected, click the “Use as Mask” icon in the top-center toolbar (it looks like a circle with a bite taken out of it). Alternatively, use the keyboard shortcut Ctrl + Alt + M (or Cmd + Option + M on Mac).
Everything outside the bounds of your top shape will now be hidden. You’ve successfully created a mask group!
When to Use Each Cropping Method
| Use This Method… | When You Need To… | Example Use Case |
| Image Fill (Crop) | Quickly place and crop a single photo inside a simple frame. | Creating a user avatar circle or a card component. |
| Use as Mask | Crop complex vector shapes, text, or groups of multiple layers. | Hiding parts of an illustration; cropping a logo. |
Advanced Cropping Tips & Tricks
-
Edit Your Mask: The best part about masks is they are non-destructive. You can double-click the mask group to select and move the original objects around to adjust the crop. You can also select the mask shape itself and edit its points or dimensions.
-
Crop with a Gradient: Instead of a solid shape, you can use a shape with a transparent gradient as your mask. This allows you to create beautiful fade effects, perfect for blending images into the background.
-
Troubleshooting: My Mask Isn’t Working! The most common issue is layer order. The shape you want to use as your “window” must be the top layer in the group you are selecting.
A Practical Workflow: Auditing UI with Cropped Screenshots
So, how does this apply to a real-world design workflow?
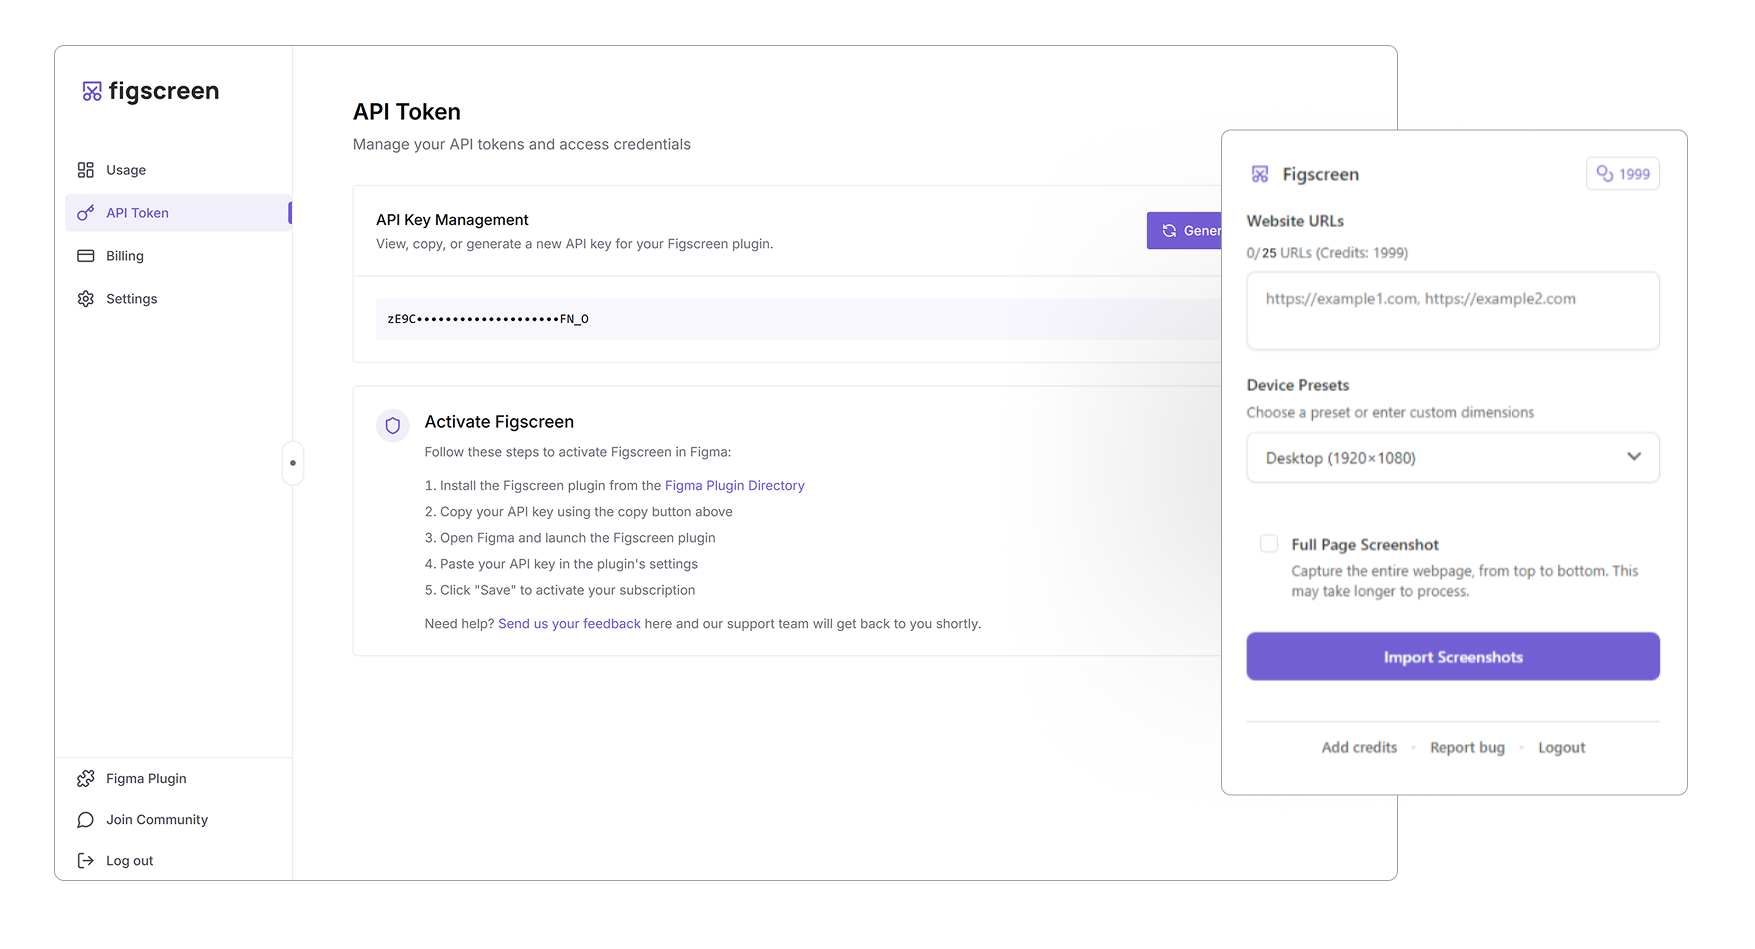
Imagine you’re starting a website redesign. You need to quickly capture UI elements from competitor sites for a mood board. After using a tool like the Figscreen Figma plugin to get an instant, full-page screenshot of a homepage, your next step is to isolate the specific components you want to analyze.
With your Figscreen screenshot in Figma, you can use the masking technique to:
-
Crop the navigation bar to analyze its structure.
-
Isolate the hero section to use in a presentation.
-
Grab just the footer to compare it with your own design.
This combination—instant, high-quality capture with Figscreen, followed by precise cropping with Figma’s mask tool—dramatically speeds up your UI audit and inspiration-gathering process.
Need accurate visual references of a live site for a redesign or component audit? Figscreen eliminates the hassle of capturing web pages so you can focus on building.
Need accurate visual references of a live site for a redesign or component audit?
Figscreen eliminates the hassle of capturing web pages so you can focus on building.
Figscreen’s plugin integrates directly into Figma, allowing you to pull pixel-perfect images of any website for visual testing, documentation, or design hand-offs, all without leaving your design tool.
Get the visual context you need in seconds — install the Figscreen plugin today.